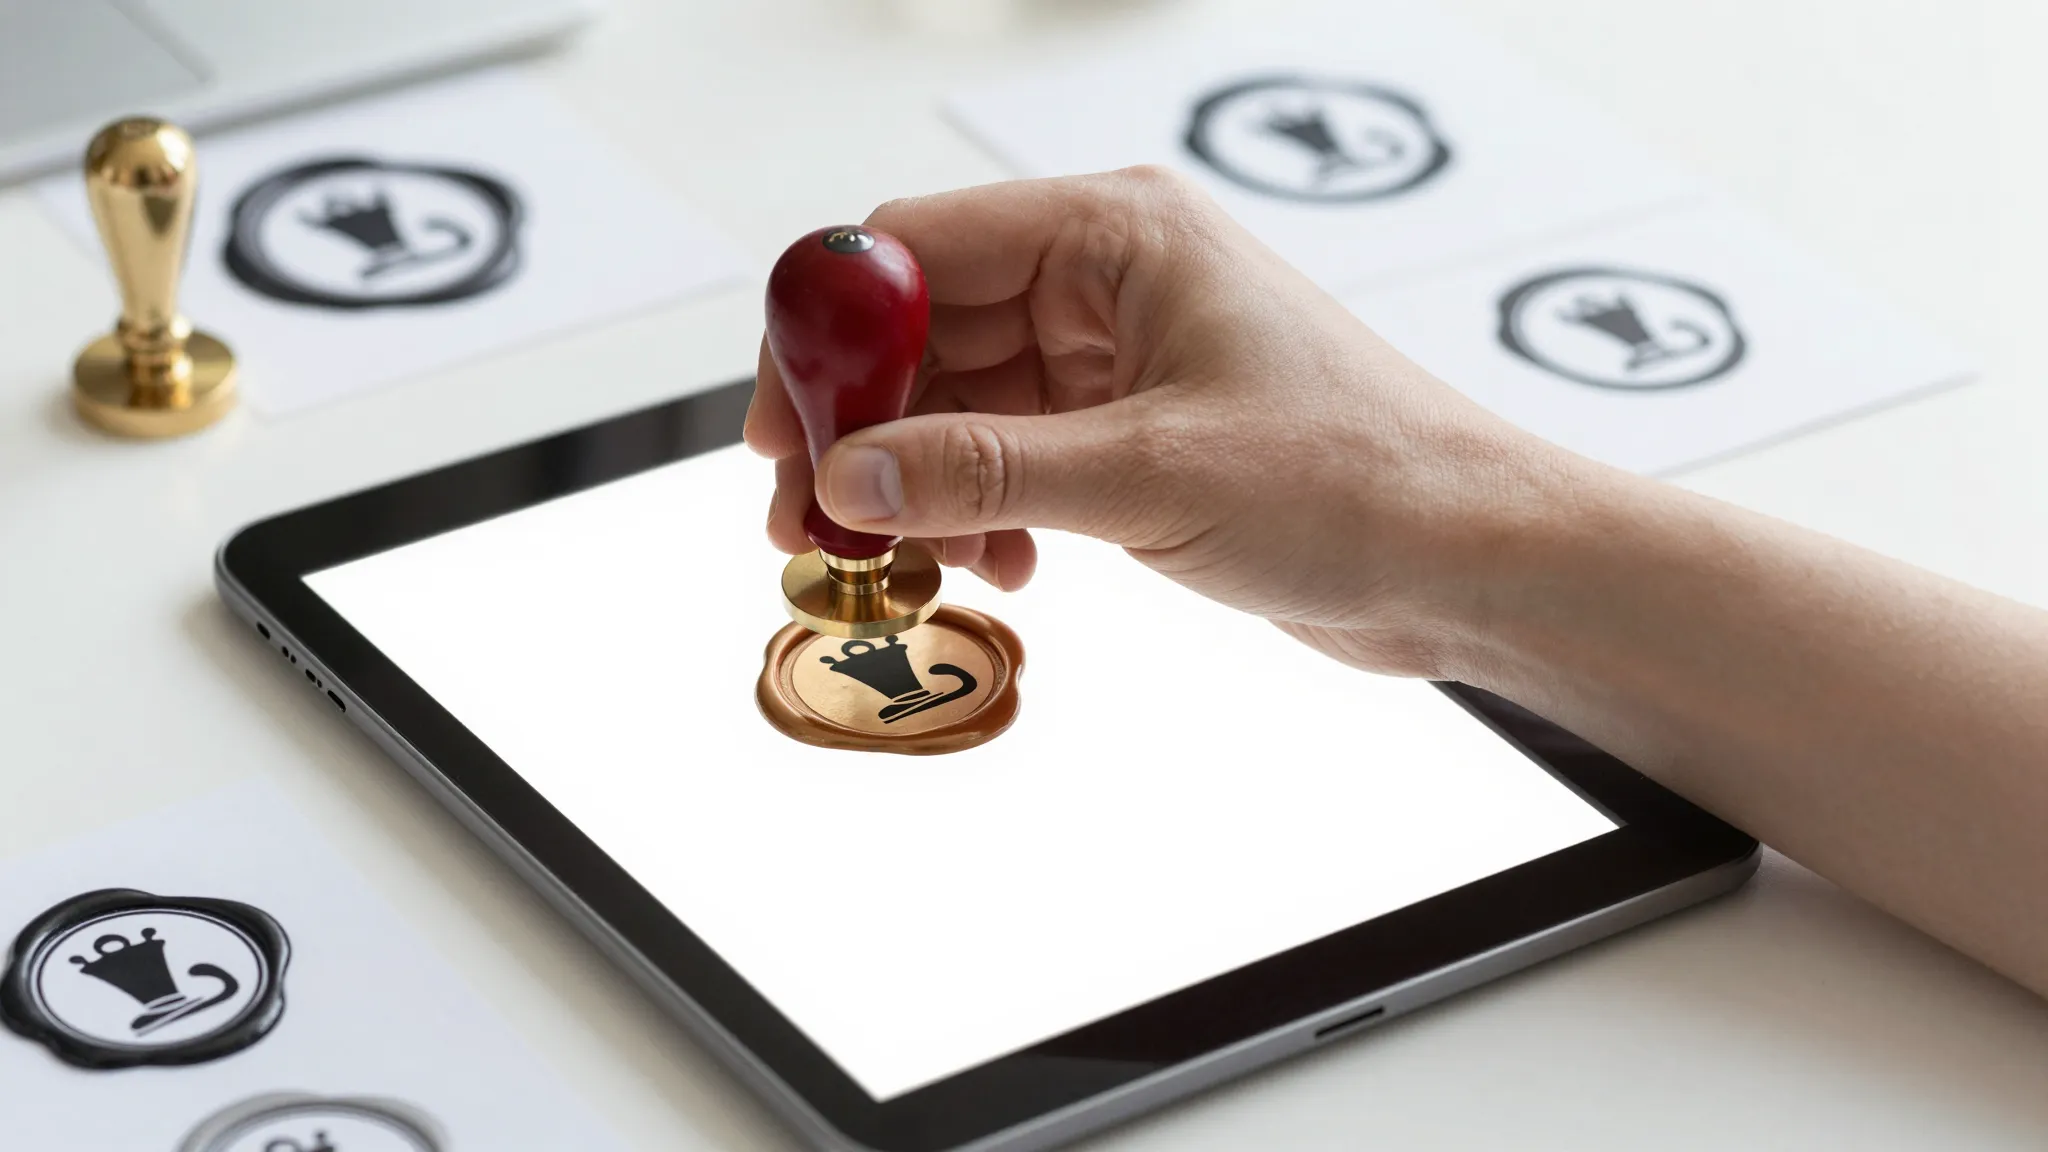
How to Prepare Your Logo for a Custom Wax Seal
Avoid common artwork mistakes and get cleaner engraving results with a quick prep checklist.
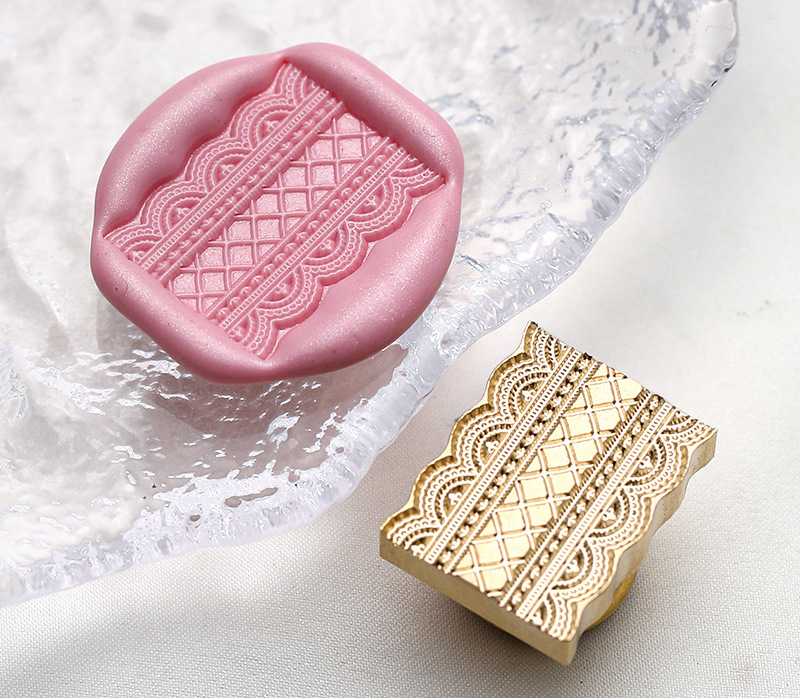
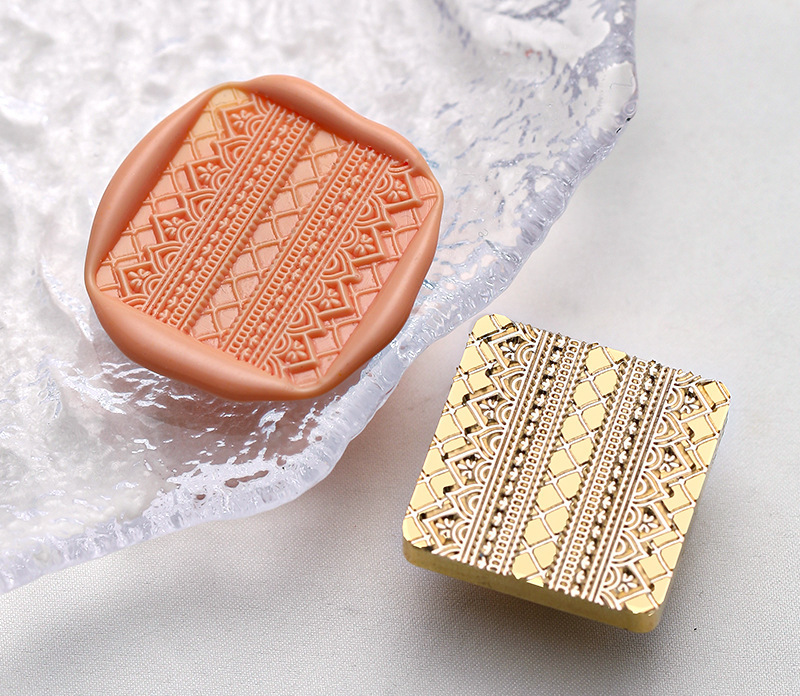
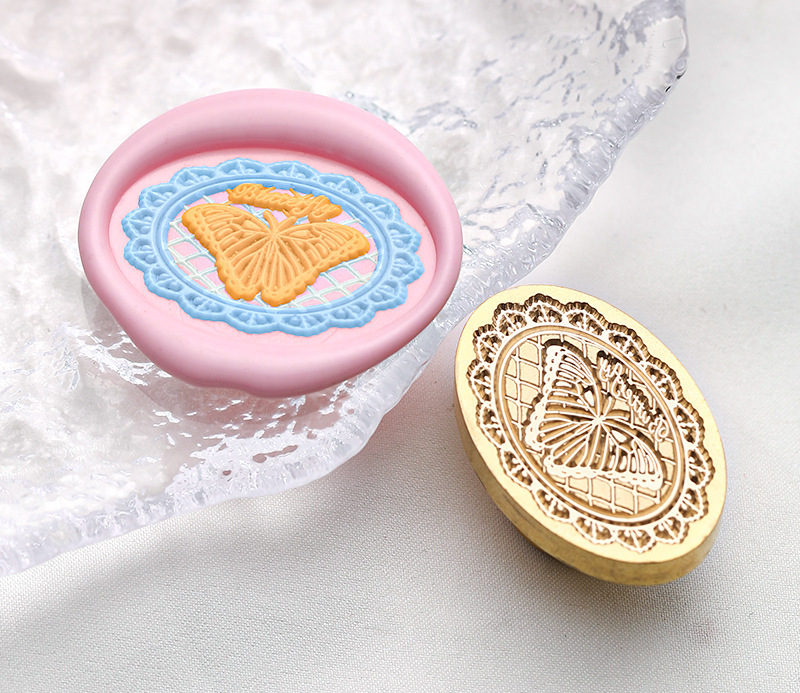
Simplification comes first. Fine gradients, ultra-thin hairlines, and tiny negative spaces often collapse in wax impressions. Build a dedicated seal version of your logo, not just your standard digital logo export.

Use vector source when possible and convert typography to outlines. This avoids font substitution issues and preserves exact letterforms through production and revision cycles.
Set a minimum stroke thickness for engraved features. If details become too delicate, they can fill with wax and reduce readability at real usage size.
Prepare two variants: a full version and a simplified fallback version. For small stamp heads, simplified symbols generally outperform complex brand systems.
Before final production, request proof render checks at expected stamp dimensions. A design that looks clear at 1200px mockup may perform differently at 25mm physical output.
Common Questions
Can I use a PNG logo only?+
Yes, but high-contrast PNG at good resolution is important. Vector files still provide cleaner control for engraving adjustment.
What if my logo has many tiny details?+
Create a reduced-detail seal version. Prioritize silhouette and key brand shapes over micro details.
Recommended Products
Keep Exploring
Apply this guide to your project
Move from ideas to materials, colors, and seal styles that fit this use case.
Start a Custom Logo Stamp